
A DIY Christmas door mat is an afternoon project that looks easy until you meet the one problem behind it. Coir is rough, so paint creeps under a stencil edge and blurs the letters. This guide shows how to cut the stencil on a Cricut, seal the base and paint a clean message, and our Christmas door ideas show what to put around the mat once it is done.
Some product links below are Amazon affiliate links. As an Amazon Associate we earn from qualifying purchases.
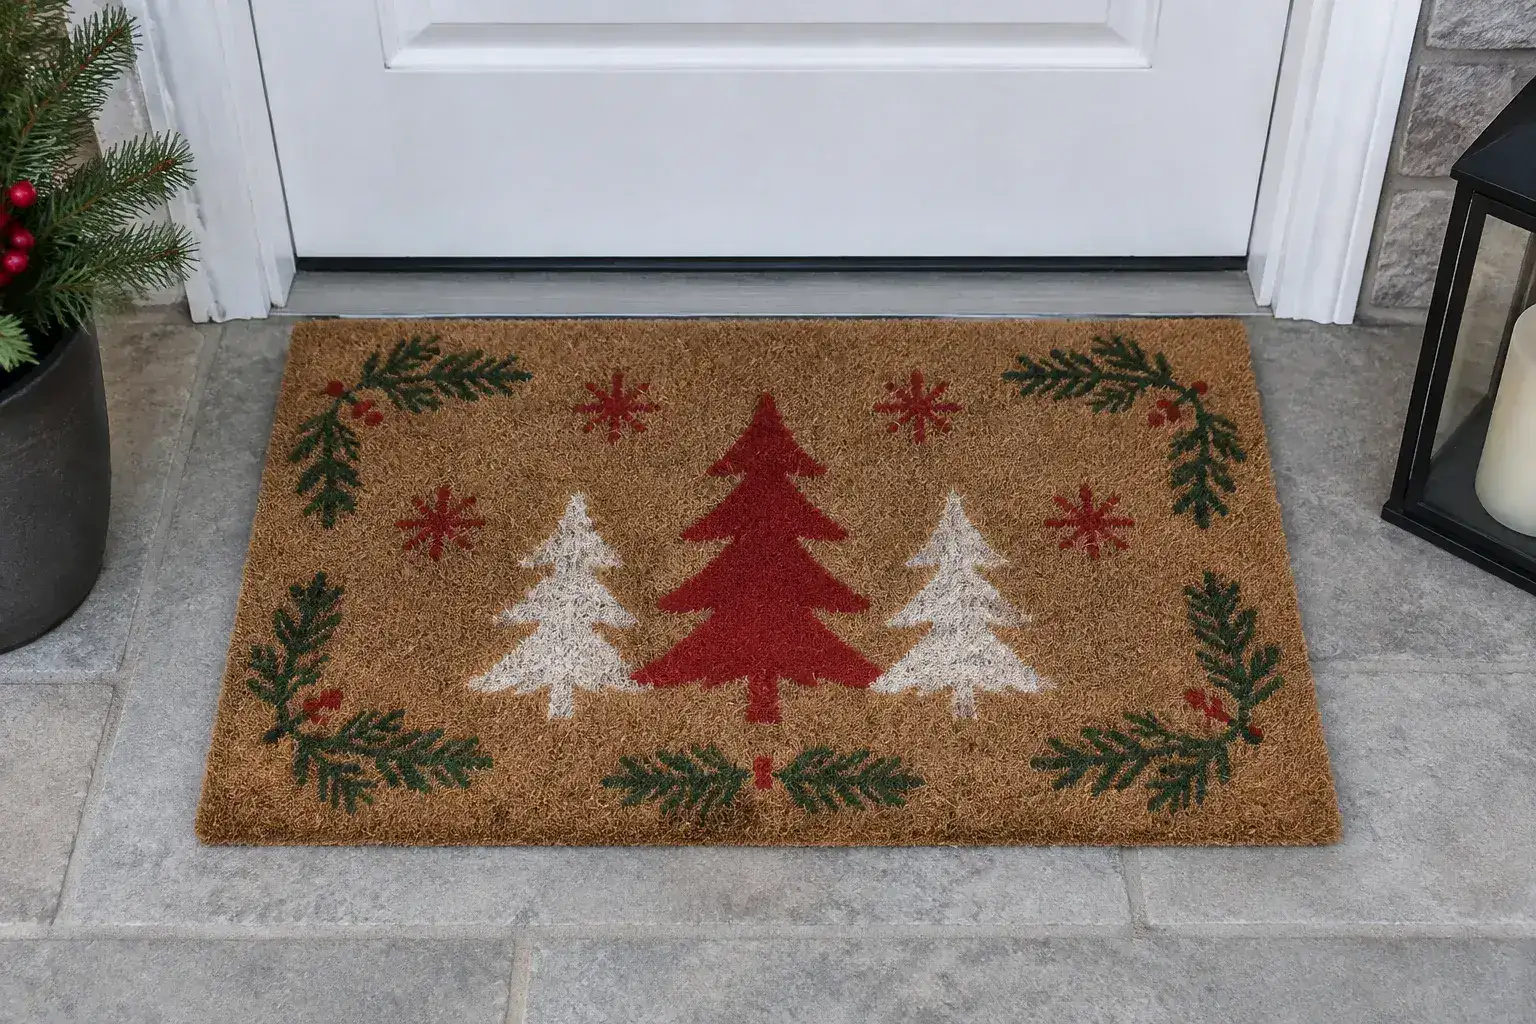
What this job takes
Plan on one afternoon, a Cricut that cuts stencil film and basic skill with Design Space. The deciding factor is the seal between the film and the mat, because a rough coir face lets paint creep under the edge. Seal the edges first, paint in thin coats and read each product label for its drying time.
What You Need Before You Cut
The list is short, and most of it may already sit in your craft room. You need a blank mat, stencil film your machine can cut, a grip mat, weeding tools, transfer tape, outdoor paint and a sealer.
Cricut’s page for its flexible stencil film says it will adhere to both curved and flat surfaces like canvas, wood, glass, and walls. The same page says it works with “sponge brushes, paint brushes, roller paint, and spray paint,” so you can use whichever paint tool you already own.
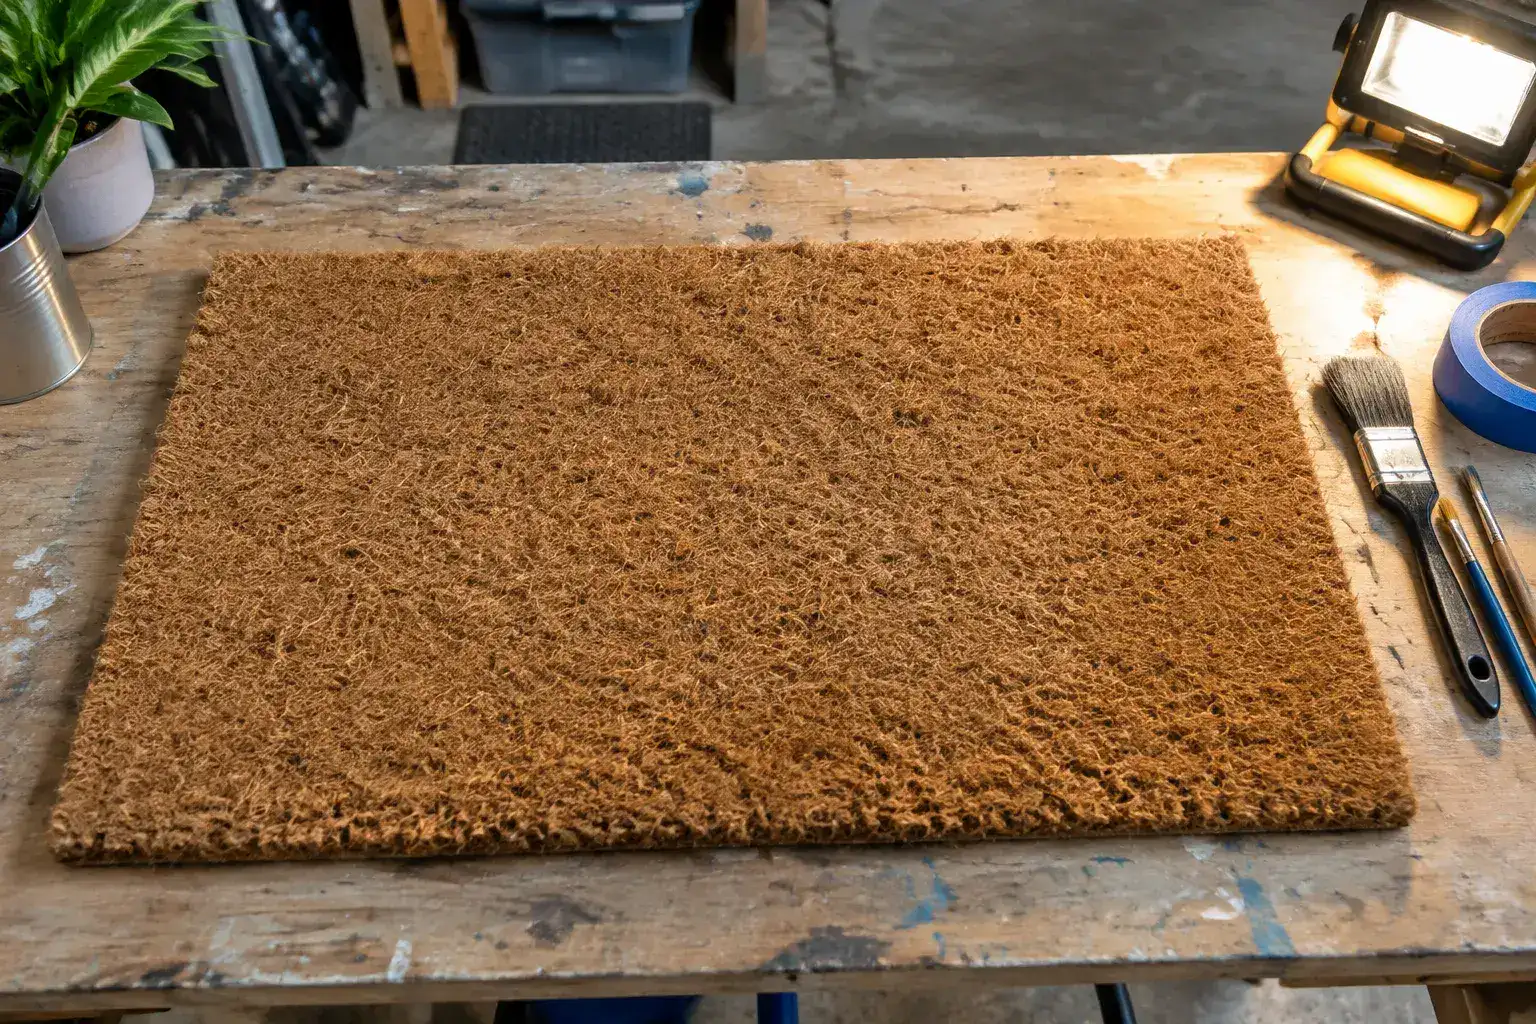
A coir mat is not on that list, and its fibrous face is rougher than anything that is. Cricut adds a note for that case: “For a tighter seal on heavily textured bases, use sealant before applying paint.” That note is the reason this guide has a sealing step.
Pick a mat with a flat, even face, since a deep pile hides the edges of a stencil. Wipe it with a dry cloth and shake out loose fibers before you tape anything down.
Shop this step
A blank mat and stencil film
- BLANK CRAFT MATSBlank DIY door mats for painting, six packShop on Amazon
- COIR MATThick natural coir doormatShop on Amazon
- STENCIL FILMFlexible stencil film rollShop on Amazon
As an Amazon Associate we earn from qualifying purchases.
Before you start, run through this list.
- The mat face is flat, clean and dry
- The film is made for your cutting machine
- You have a sealer and paint that are labeled for outdoor use
- You have a spot to let the mat dry flat
Those four checks cover most of the problems that show up later.
Pick a Layout That Fits Your Cutting Mat
Your machine sets the first limit. Cricut lists the Maker’s largest cut as 11.5 by 11.5 inches on a 12 by 12 inch mat. On a 12 by 24 inch mat it is 11.5 by 23.5 inches.
A door mat is wider than both, so a long message is cut in panels.
Other machines can differ, so check the limit in Design Space for yours. The calculator below uses the Maker figures, which cover the two common mat sizes.
If the answer is more than one panel, split the message between words so a seam never cuts through a letter. Line the panels up with painter's tape across the join before you press them down.
The table compares five common layouts, so you can match the layout to your mat before you design.
| Layout | Good for | Effort | Watch for |
|---|---|---|---|
| One short word | First-time makers | Low | Letters need bridges |
| Word and border | A finished look | Medium | Two stencils to line up |
| Name or monogram | Personal gifts | Medium | Thin script tears when weeded |
| Repeating trees or stars | Long mats | Medium | Spacing drifts across panels |
| Two line message | Larger mats | High | Panels meet in the middle |
Choose the layout for the mat you own, not the one you saw online. A single bold word cut in one piece is the safest first project, and it still reads well from the street.
Cut and Weed the Stencil
Stencils are cut so that paint passes through the letters. That means you remove the letter shapes and keep the film around them, which is the opposite of how you handle a sticker.

Pick a stencil style font or add small bridges to letters such as O, A and R. Without them, the centers of those letters fall out and print as solid blobs.
- Load the film on a grip mat the way its packaging says, and cut a small test shape first.
- Cut the full design and keep the film on the mat while you check that every line cut through.
- Weed out the letter shapes with a hook, and keep the film around them.
- Lay transfer tape over the weeded film, rub it flat and lift the whole stencil off its backing.
- Press the stencil onto the mat from the center outward, then rub each edge down firmly.
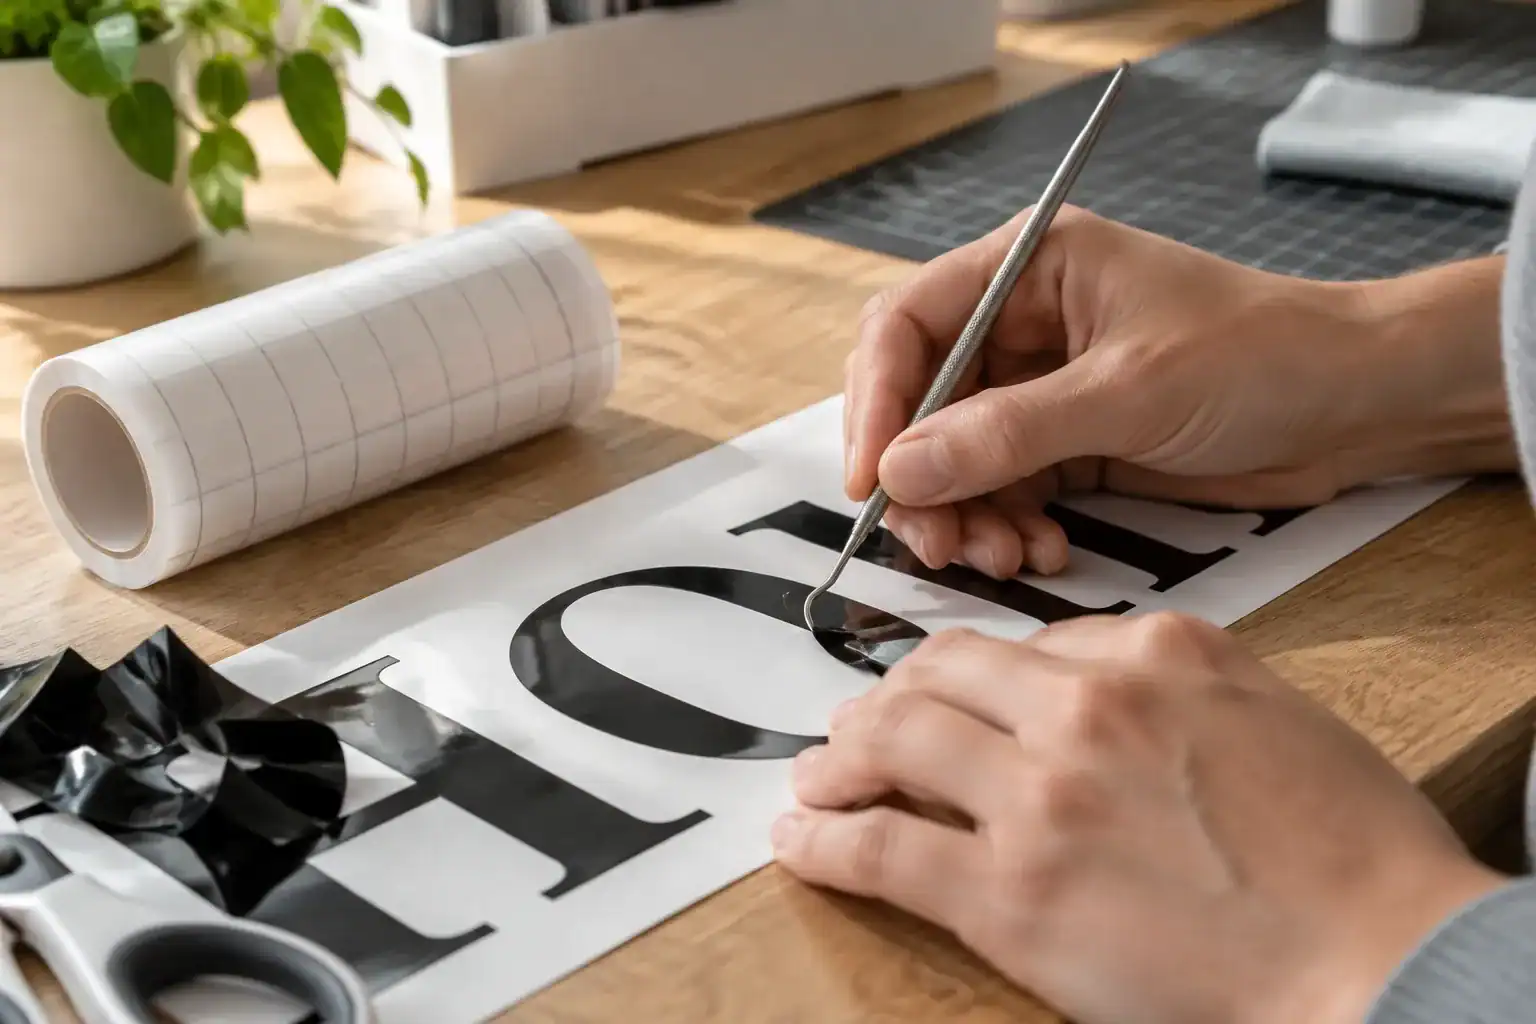
Bold letters are easier to weed than thin ones. If a thin stroke tears, go back to Design Space and thicken it before you cut again.
Shop this step
Mats and tools for cutting and weeding
- CUTTING MATSStandard grip cutting mats, three packShop on Amazon
- WEEDING TOOLSWeeding tool set for vinylShop on Amazon
- TRANSFER TAPETransfer tape roll for vinyl projectsShop on Amazon
As an Amazon Associate we earn from qualifying purchases.
Seal the Edges and Paint in Thin Coats
This is the step that decides whether the lettering is crisp or fuzzy. Film rests on the tips of the fibers, and paint finds every gap between them.
The sealer fills those gaps before the paint arrives, so the paint stays inside the letters. Read the label on your sealer for the right type of paint to use over it and for its drying time.
- Tape off the mat around the stencil so stray paint cannot reach the rest of the mat.
- Brush a thin coat of sealer over the open letters and the film edges, then let it dry as the label says.
- Dab the first thin coat of paint straight down with a sponge or a dabber.
- Let that coat dry, then add a second thin coat.
- Peel the film back slowly at a low angle and check the first inch before you pull the rest.
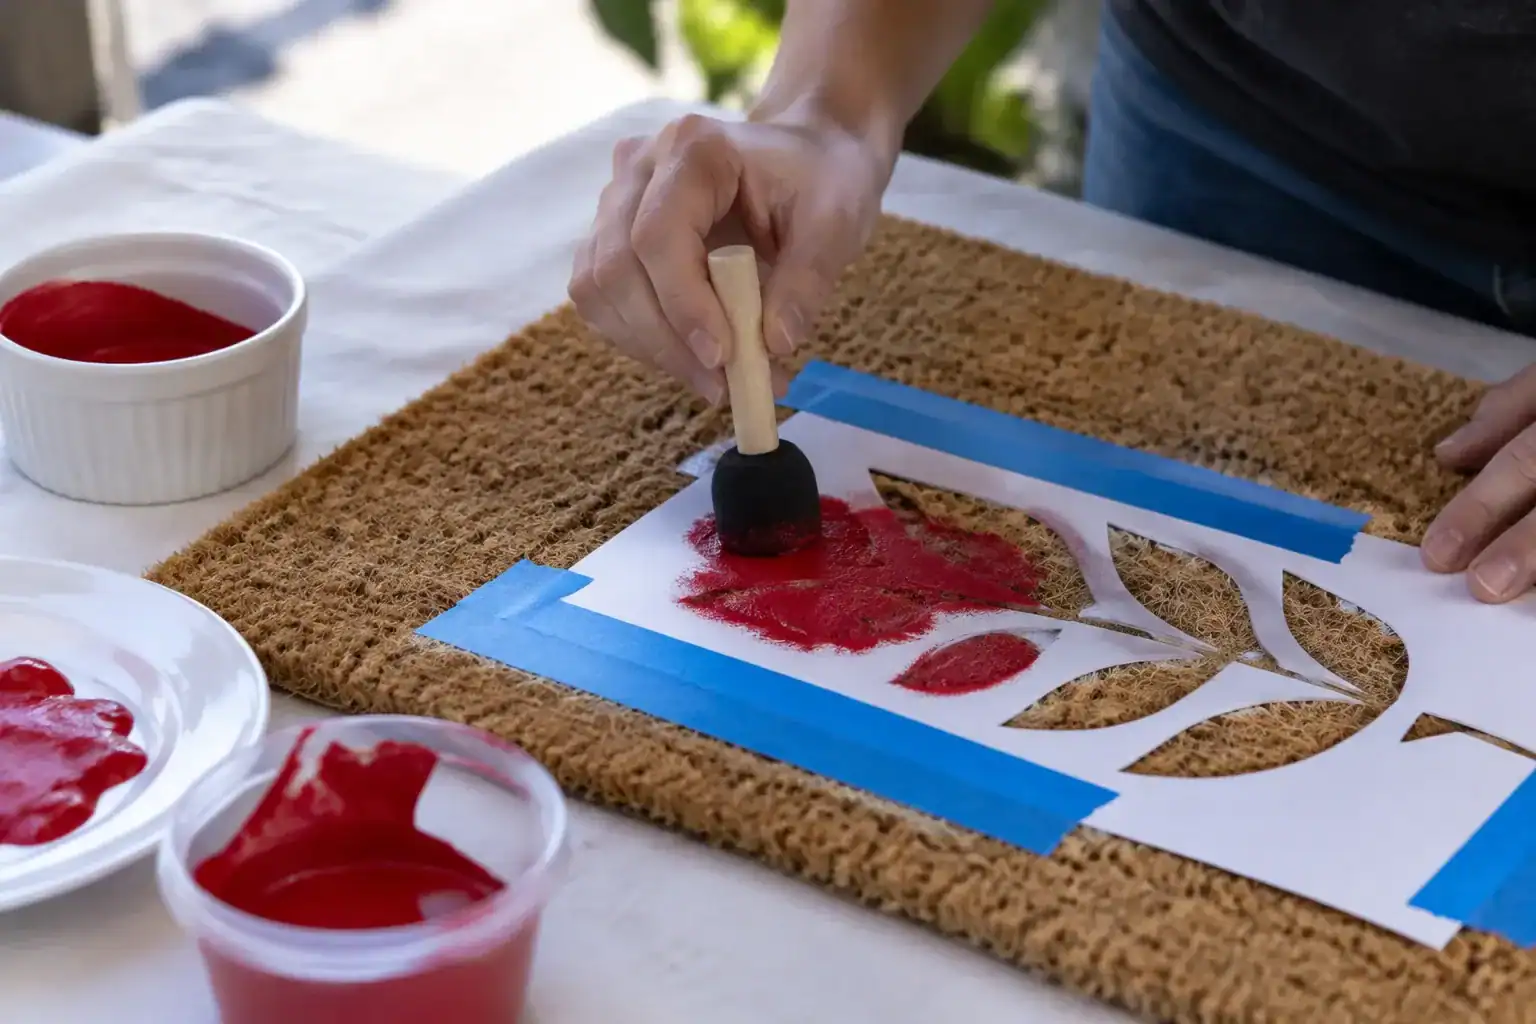
Dabbing straight down keeps paint from being pushed sideways under the edge. Thick paint does the same job in a different way, so add a second coat instead of loading one heavy coat.
Shop this step
Sealer, paint, dabbers and tape
- OUTDOOR SEALEROutdoor water-based sealer and glue, 8 ozShop on Amazon
- OUTDOOR PAINTOutdoor acrylic paint set with brushesShop on Amazon
- SPONGE BRUSHESRound sponge brush set for painting, 30 pieceShop on Amazon
- PAINTER'S TAPEBlue painter's tape, four rollsShop on Amazon
As an Amazon Associate we earn from qualifying purchases.
Add a Border and Protect the Paint
A border hides uneven edges and makes the mat look planned. Cut a second stencil with small trees or snowflakes, line it up around the message and repeat the sealing and painting steps.
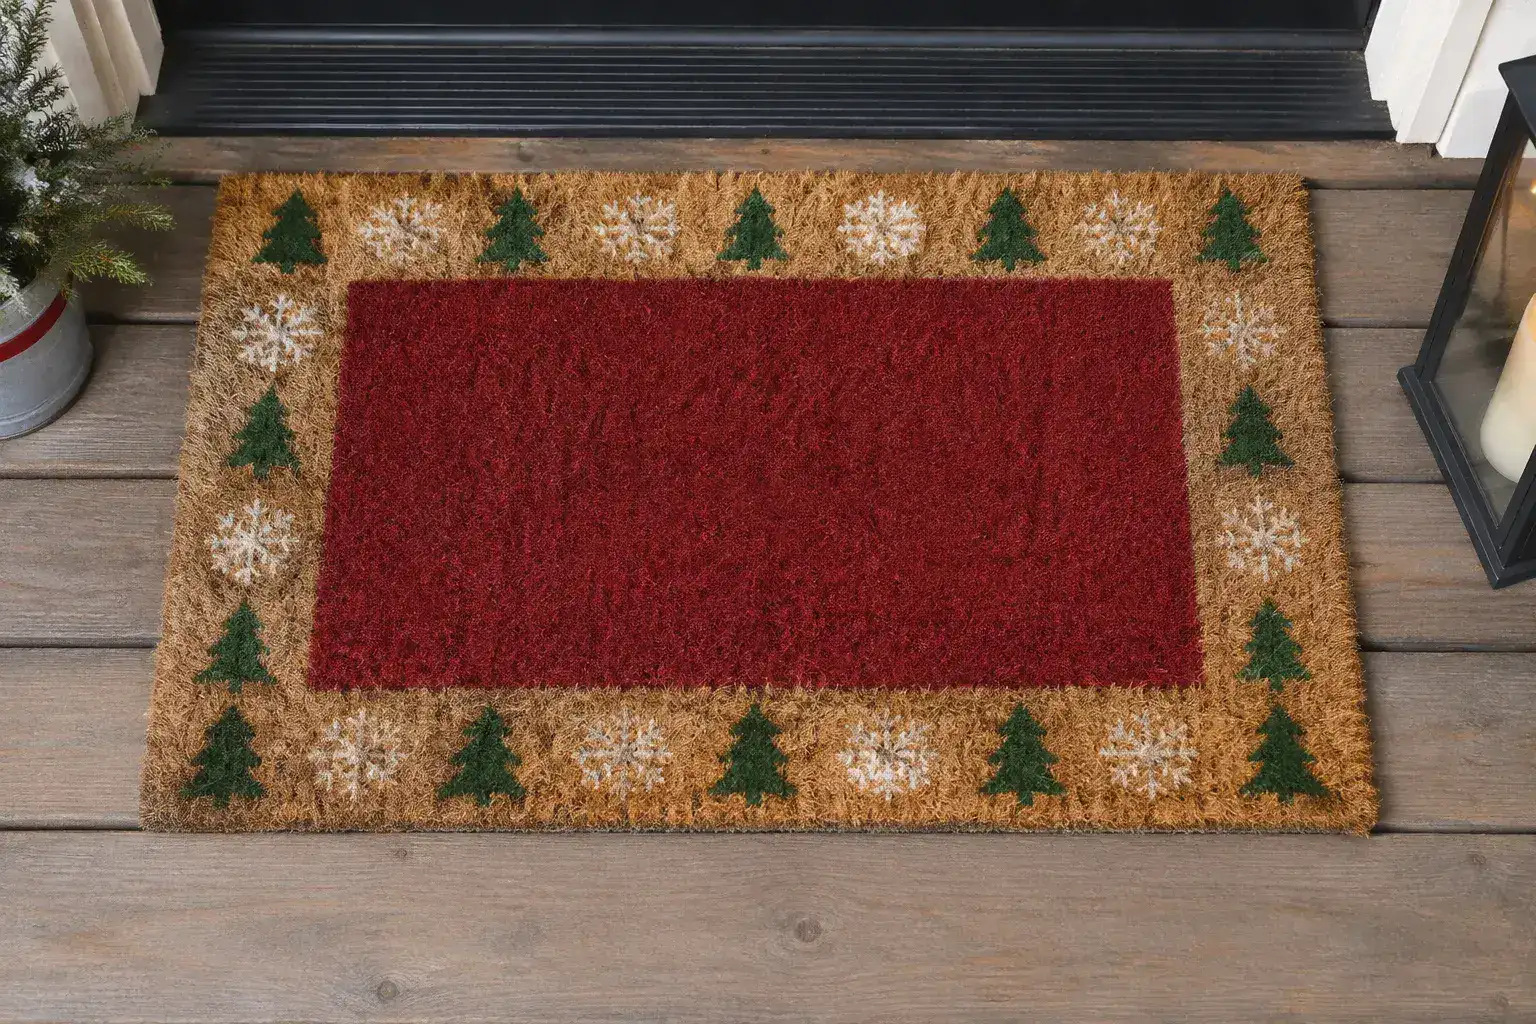
Keep the border to one or two colors, because busy mats read as messy from the doorway. Our wreath ideas give you colors to borrow for a matching door.
Let the finished mat dry flat in a dry spot, away from pets and wind. Then add a clear outdoor finish if the paint label recommends one, and keep the mat under a porch roof so rain does not wear the lettering.

Spray finishes need good airflow
Use a spray finish outdoors or in a space with good airflow, and keep it away from children and pets until it dries. Follow the can's own directions, and do not spray near a flame.
Shop this step
A clear finish to protect the paint
- CLEAR FINISH SPRAYClear acrylic finish spray for indoor and outdoor use, 11 ozShop on Amazon
As an Amazon Associate we earn from qualifying purchases.
Mistakes That Ruin a Painted Mat
The most common mistake is skipping the seal. The lettering looks sharp under the film, then blurs when you peel it, and nothing fixes that afterward.
The second is a heavy coat. It floods the edges and leaves the fibers stiff, so use two thin coats and let each one dry.
The third is speed. Lifting the film too early or moving the mat before the paint dries smears the letters you just made, so give it the time on the label.
Our take · James Davis
If this is your first mat, cut one short word and spend the saved time on the seal. A bold word with a clean edge looks better than a long message with fuzzy letters.
Test the stencil and paint on a scrap of cardboard before you commit to the mat.
Quick Answers on DIY Christmas Door Mats
Can I paint an old door mat?
Yes, if the face is clean and dry. Brush off loose dirt first, then seal the edges before you paint, since an older mat is often rougher than a new one.
Does the mat have to be coir?
No. Any mat with a flat, firm face works, but the rougher the face, the more the seal matters.
How long should the paint dry before I use the mat?
Follow the label on your paint and sealer. Drying times differ by product and by weather, so read both.
Related posts
 8 Door Draft Stopper DIY Projects Quilters Can Sew From Fabric Scraps
 11 French Door Projects That Save Money and Are Surprisingly Easy to Tackle
 Product Comparison: Heavy Duty Garage Door Hinges with Galvanized Finish
 15 Door Mat for Backyard That Fits Under a Sliding Door Track
 14 Door Mat for Front Door That Won’t Fade in Full Sun
 15 DIY Wreaths for Front Door That Look Surprisingly Expensive
 Hollow Core Door Makeover DIY With Real Depth and Character
 17 DIY Fall Wreaths for a Standard Front Door