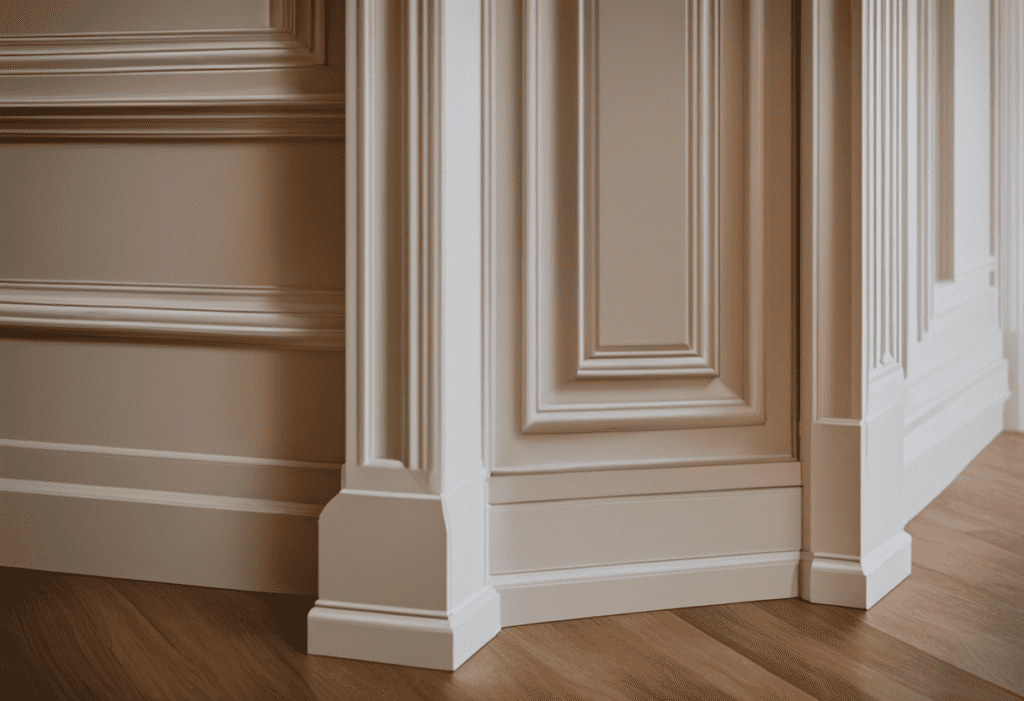
Image showing a close-up of a door frame with shoe molding seamlessly mitered at the outside corner
As you stand back to admire the freshly installed flooring in your living room, you notice an unsightly gap remains – the space between the baseboards and the floor cries out for a finishing touch. You want the room to feel complete and elegant, but how can you seamlessly bridge that gap?
This is where artfully crafted shoe moulding comes in, providing the perfect decorative transition to pull the space together. However, the real test is ending the moulding properly at the door frames. You envision clean, symmetrical lines and flawless transitions from floor to wall as you guide the moulding across the room.
You can achieve this picturesque finish with the right angle measurements and secure attachment. This article will clearly outline techniques for cutting the ideal mitred or butted edge to complete the moulding at door frames.
Follow along as we transform your room from unfinished to spectacular with step-by-step instructions for installing shoe moulding like a pro. Get ready to stand back again and admire the polished, designer-level results.
Key Takeaways
- Mitring the ends of the moulding at a 45-degree angle creates a clean and professional look.
- Proper installation is crucial for a polished finish.
- Test fits before installation to ensure tight joints and clean lines.
- Pay attention to details for a seamless transition.
Preparation Steps Before Installation
Before starting the installation process, I should gather all the necessary tools and materials for the job.
I’ll need a tape measure, mitre, and coping saw to ensure precise measurements. These tools will allow me to accurately measure and cut the shoe moulding at the correct angles for a seamless fit.
Avoid common mistakes such as not measuring accurately or rushing through the cutting process. Taking the time to measure carefully and test fits before installing will ensure tight joints and clean lines.
Additionally, I should have wood filler or caulk on hand to fill any nail holes or gaps for a polished look.
Cutting the Ends at a 45-degree angle
To achieve a precise and seamless fit, I’ll cut the ends of the shoe moulding at a 45-degree angle using a mitre saw. This cutting technique ensures that the moulding meets flush with the door frame casing, creating a clean and professional look.
To assist with the cutting process, here are some measuring tips to keep in mind:
- Measure twice, cut once: Double-check your measurements before making any cuts to ensure accuracy.
- Mark the moulding: Use a pencil to mark the exact spot to make the 45-degree angle cut.
- Align the moulding: Place the moulding securely against the mitre saw fence, aligning the pencil mark with the saw blade.
- Cut with precision: Slowly and steadily push the moulding through the saw, maintaining a firm grip to ensure a straight and clean cut.
In addition to cutting techniques, glue usage is also important. Applying a small amount of wood glue to the joint before nailing the moulding into place will provide extra strength and stability. This will help prevent gaps or movement over time, ensuring a long-lasting and professional finish.
Coping Inside Corners
Since I want to achieve a seamless and professional look, I’ll cope with inside corners to ensure a precise fit for the shoe moulding.
Coping is a technique commonly used for baseboards and other trim work.
To cope with inside corners, start by transferring the profile shape of the moulding to a piece of scrap wood.
Carefully cut along the traced line to match the contours of the corner.
The key is to take your time and make precise cuts.
Common mistakes when coping corners include rushing the process and not taking accurate measurements.
To cope inside corners, you’ll need a coping saw, scrap wood, and sandpaper for smoothing the edges.
Mitering Outside Corners
I will mitre the shoe moulding at 45 degrees so the pieces join neatly at the outside corners. Mitring the corners creates a clean and polished look, adding sophistication to the overall appearance of the shoe moulding.
Here are four important steps to consider when mitring outside corners:
- Measure accurately: Take precise measurements of the corner to ensure that the moulding is cut at the correct angle.
- Make precise cuts: Use a mitre saw or a box to cut the moulding at a 45-degree angle. Take your time to ensure the cuts are clean and accurate.
- Secure the moulding: Apply glue to the mitred edges before joining them. This will provide extra strength and stability to the corners.
- Test fit before installation: Before permanently securing the moulding, do a test fit to ensure the pieces align perfectly at the corners. Make any necessary adjustments before nailing or gluing the moulding in place.
Transitions from Flooring to Door Frame
Often, I find that transitions from flooring to door frame can be challenging to achieve seamlessly. Choose suitable shoe moulding for your flooring to ensure a smooth and polished transition.
Alternative transition methods are available if you’re dealing with uneven door frames. One option is to use a T-molding, a transition strip between the flooring and the door frame, creating a gradual slope.
Another option is a reducer, a moulding that slopes down from the flooring to the door frame. These alternatives can help create a more even and visually appealing transition.
Remember to measure carefully and make precision cuts to ensure a tight fit. You can seamlessly transition from flooring to door frame by paying attention to these details.
Finishing Touches for a Flawless Look
To achieve a flawless look, I recommend applying a small amount of wood filler to any remaining gaps and sanding the seams smoothly. This will ensure a seamless finish for your shoe moulding at the door frame.
Here are some additional finishing touches that will elevate the overall appearance of your project:
- Using wood filler and caulk: Fill in any remaining gaps and nail holes with wood filler to create a smooth and seamless surface. For painted moulding, caulk can be used instead of wood filler to achieve a seamless finish.
- Sanding techniques for smooth seams: After applying the wood filler or caulk, use sandpaper to smooth out the seams. Start with a coarse grit sandpaper and gradually move to finer grits for a polished look.
- Touch-up options for stained/painted moulding: Touch up the shoe moulding with stain or paint to match the rest of the trim. Apply the touch-up evenly and blend it with the surrounding area for a cohesive look.
- Attention to detail: Take the time to inspect your work and make any necessary adjustments. Look for any imperfections or areas that require additional touch-ups. By being meticulous and detail-oriented, you can achieve a flawless and professional finish for your shoe moulding at the door frame.
Can Shoe Molding Techniques Be Used for Leadlight and Stained Glass Doors?
Yes, shoe molding techniques can be used for leadlight and stained glass doors. By carefully installing shoe molding around the edges of the doors, the glass can be secured in place and protected from damage. This technique also adds a decorative touch to the doors, enhancing their overall appearance.
Frequently Asked Questions
Can Shoe Molding Be Installed Directly Over the Flooring, or Does It Need to Be Installed First and Then the Flooring Added?
Shoe moulding should be installed after the flooring to ensure proper installation. It adds the finishing touch to the room. Measure accurately, make precise cuts, and secure tightly for a professional look.
Is It Necessary to Remove the Existing Shoe Molding Before Installing New Shoe Molding at the Door Frame?
No, removing the existing shoe moulding before installing new moulding at the door frame is unnecessary. The new moulding can be installed directly over the existing moulding for a seamless look.
What Tools Are Required to Cope Inside Corners of the Shoe Molding?
You’ll need a coping saw, sandpaper, and a coping technique to cope inside corners of shoe moulding. Trace the profile on scrap wood and cut along the line to match the contours. Sand for a smooth finish.
Are there Any Alternative Methods for Ending Shoe Molding at a Door Frame if a Rounded Edge Is Not Desired?
If you don’t want a rounded edge, alternative methods exist for ending shoe moulding at a door frame. One option is to cut the moulding straight and use a different finish for a clean and modern look.
How Do You Ensure That the Shoe Molding Is Securely Attached to the Wall Without Damaging the Flooring?
I recommend nailing it into the wall instead of the floor to securely attach shoe moulding to the wall without damaging the flooring. This allows for natural expansion and contraction of the flooring.

Hi, I’m George Anderson, an expert installer with an extensive door installation and maintenance background. I’m passionate about sharing my knowledge on door equipment and accessories through my writing, helping homeowners make informed decisions. My specialty lies in custom door installations, with a commitment to enhancing the aesthetics of every home. Please feel free to reach out anytime for help with door-related questions or needs.


