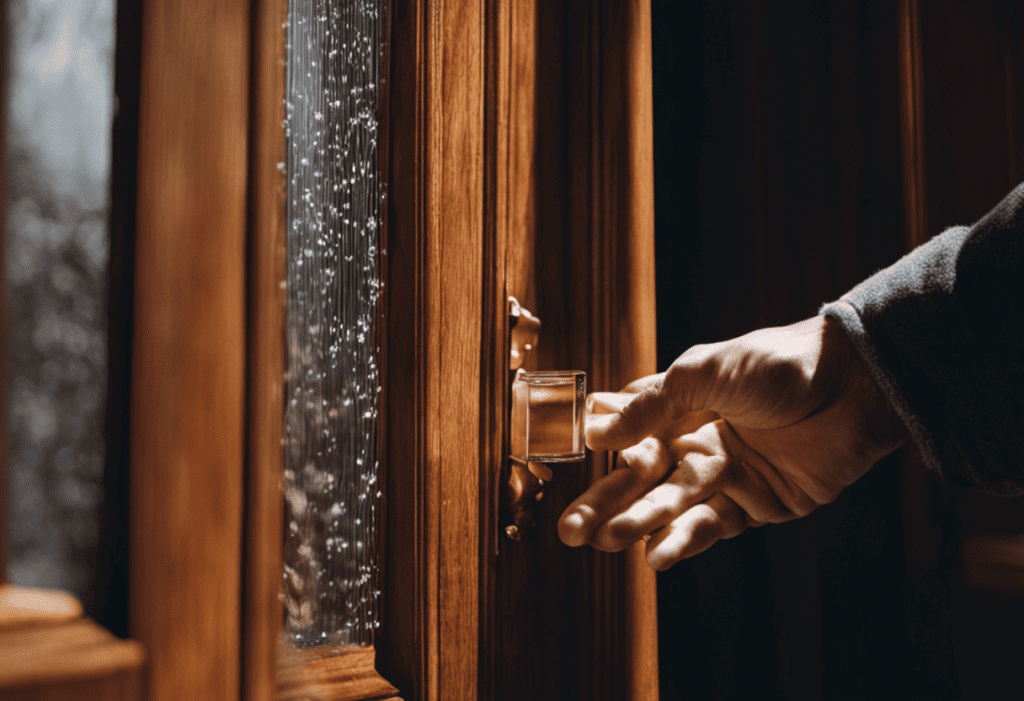
Image showcasing a pair of hands delicately peeling off the transparent protective film from a beautifully crafted wooden door, revealing its glossy surface beneath, emphasizing the significance of meticulous protective film removal
As a homeowner, I understand the frustration of trying to remove protective film from wooden doors. It’s vital to approach this task carefully and precisely to avoid damaging the door’s surface.
In this step-by-step guide, I’ll share my knowledge and expertise on the best techniques for removing protective film effectively. From troubleshooting difficult removal to restoring your wooden door’s natural beauty, this article will provide the innovative solutions you need to tackle this project.
Key Takeaways
- Proper removal of protective film is essential to prevent adhesive residue and maintain the appearance and integrity of wooden doors.
- Before removing the film, it is essential to inspect the door for any cracks or damage and address them appropriately.
- The removal process involves loosening the edges of the film with a plastic scraper or heat, applying a solvent to break down the adhesive, and peeling off the film carefully.
- After removal, it is necessary to clean the door and remove any adhesive residue, apply polish or conditioner to restore shine, and regularly maintain the door to prevent dirt buildup and preserve its appearance.
The Importance of Proper Protective Film Removal
I believe it’s crucial to remove the protective film from wooden doors properly to avoid any potential damage or difficulty in the future. When protecting wooden doors, applying a protective film is a common practice. This film protects against scratches, dust, and other potential damages during transportation and installation.
However, if not removed correctly, the protective film can become baked over time, making it extremely difficult to remove. Improper removal techniques can lead to adhesive residue on the door’s surface, which looks unsightly and can also be a breeding ground for dirt and grime.
Additionally, if the film isn’t removed entirely, it can affect the overall appearance and integrity of the wooden door. Therefore, it’s essential to follow a step-by-step guide to ensure a safe and effective removal process, preserving the beauty and function of the wooden door.
Steps for Removal
To begin the removal process, it’s essential to prepare the door and workspace by gathering the necessary tools and ensuring a clean area.
Next, use a plastic scraper or your fingernail to loosen the edges of the protective film, being careful not to damage the door’s surface.
Once the edges are loosened, apply a solvent to the adhesive and allow it to penetrate for a few minutes before slowly peeling off the film.
Prepare the Door and Workspace
Before starting, I’ll ensure that the door is in good condition and that all the tools and solvents are ready. Preparing the door and workspace properly is crucial to successfully removing the protective film from wooden doors.
Here are the steps to follow:
- Choose a well-ventilated area: This will help minimize fume exposure and ensure a comfortable working environment.
- Cover nearby surfaces: Use drop cloths or plastic sheets to protect the floor and surrounding areas from potential damage or spills.
- Inspect the door for cracks or damage: It’s essential to address any existing issues before removing the film to prevent further damage.
Loosen the Edges
Using a plastic scraper, I can heat the edges and corners with a hairdryer to soften the adhesive and prevent damage to the door’s surface. This technique is crucial in loosening the protective film from wooden doors effectively. Applying heat to the edges and corners makes the adhesive more pliable, making it easier to lift the film without causing any scratches or damage to the door. To give you a clearer picture, here’s a table detailing the steps involved in loosening the edges of the film:
| Step | Description |
|---|---|
| 1 | Start at one edge of the film |
| 2 | Use the plastic scraper to lift the edge slightly |
| 3 | Direct the hairdryer’s heat towards the raised edge |
| 4 | Move the scraper along the border, robbing the film as you go |
| 5 | Repeat the process on all edges and corners of the door |
Apply Solvent and Wait
I apply mineral spirits, WD-40, or adhesive remover to the film and wait for the solvent to soak in and dissolve the adhesive. This step is crucial in loosening the protective film from wooden doors.
Here is a step-by-step guide on how to apply the solvent and wait for it to work its magic:
- Start by selecting the appropriate solvent, such as mineral spirits, WD-40, or adhesive remover.
- Apply the solvent generously to the protective film, covering the entire surface.
- Allow the solvent to sit on the film for a sufficient time, typically around 10-15 minutes.
- During this time, the solvent will penetrate the adhesive and break it down, making it easier to remove the film.
- If the film is particularly stubborn, you may need to reapply the solvent and wait longer.
- Once the adhesive has been dissolved, you can peel away the film, starting from one corner and working your way across the door.
Slowly Peel Off the Film
Once the solvent has dissolved the adhesive,
I slowly peel off the film from one corner of the door, ensuring a low angle to prevent damage.
To avoid mishaps, being patient and gentle during this process is crucial.
As I peel, I continuously apply solvent to the adhesive, ensuring it remains moist and easily removable.
The low angle ensures the film is lifted smoothly without tearing or residue left behind.
By maintaining a steady and controlled motion, I can gradually peel away the film, revealing the pristine surface of the wooden door.
This method ensures a clean removal and protects the door’s integrity, leaving it ready for any further refinishing or treatment.
Clean and Polish the Door
To clean and polish the door, I use a soapy water solution to remove any residue, then buff the door with polish or conditioner to restore its shine. This process helps remove any dirt or grime that may have accumulated on the door’s surface and also helps restore its natural lustre.
Here is a step-by-step guide to cleaning and polishing a wooden door:
- Prepare a solution of warm water and mild soap.
- Dip a soft cloth or sponge into the soapy water and wring out any excess moisture.
- Gently wipe down the entire door surface, removing any residue or dirt.
- Once the door is clean, use a separate cloth or sponge to apply a slight polish or conditioner.
- Using circular motions, buff the door to restore its shine and protect the wood.
- Finally, perform a final inspection to ensure that all adhesive residue has been removed.
Troubleshooting Difficult Removal
If solvents and dental floss aren’t effective, using a heat gun may be the next option for removing stubborn adhesive from the protective film on wooden doors. A heat gun applies high temperatures to soften the adhesive, making removing it easier.
First, set the heat gun to a low or medium setting and point it at the adhesive. Move the heat gun back and forth, keeping it about 6-8 inches from the surface.
I use a plastic scraper to lift the protective film as the adhesive softens gently. Be careful not to apply too much pressure, which could damage the door’s finish. If needed, increase the heat and repeat the process until the adhesive is completely removed.
Always exercise caution when using a heat gun, and consider wearing protective gloves and goggles.
Restore Your Wooden Door’s Natural Beauty
I can quickly restore the natural beauty of my wooden door by following a few simple steps.
First, I’ll gather the necessary materials: a soft cloth, mild soap, warm water, and a gentle wood cleaner.
Then, I’ll gently wipe down the door with a soft cloth and warm water to remove any surface dirt or dust.
Next, I’ll mix the mild soap with water to create a gentle cleaning solution. I’ll apply the key to the door using the soft cloth, scrubbing gently in circular motions.
Finally, I’ll rinse the door with clean water and dry it thoroughly with a clean cloth.
With these steps, my wooden door will be restored to its natural beauty in no time.
Can I Use the Same Techniques for Removing Protective Film From Wooden Doors to Plane a Door Without a Planer?
Yes, you can use the same techniques for removing protective film from wooden doors to plane a door without a planer. Follow this stepbystep door planing tutorial: Start by removing the protective film, then use a hand plane or sander to plane the door until it’s smooth and even.
Frequently Asked Questions
Can I Use Any Adhesive Remover to Remove the Protective Film From My Wooden Door?
No adhesive remover can remove the protective film from wooden doors. It is essential to choose a gentle adhesive remover specifically designed for use on wood surfaces to avoid damaging the door.
How Long Does It Typically Take to Remove the Protective Film From a Wooden Door?
Removing the protective film from a wooden door typically takes 30-60 minutes. However, the exact time may vary depending on the adhesive and door size.
What Should I Do if the Protective Film Leaves a Sticky Residue on My Wooden Door?
If the protective film on my wooden door leaves a sticky residue, I would first try using a gentle adhesive remover or rubbing alcohol. Gently scrub the affected area with a soft cloth until the residue is gone.
Can I Use a Heat Gun to Speed Up the Removal Process of the Protective Film?
Yes, using a heat gun can speed up the removal process of the protective film on wooden doors. However, caution must be exercised to avoid damaging the wood or creating a fire hazard.
Are There Any Specific Precautions or Safety Measures I Need to Take While Removing the Protective Film From My Wooden Door?
There are several necessary precautions when removing protective film from a wooden door. These include wearing protective gloves and eyewear, using a gentle adhesive remover, and testing a small area first.
Reference links:
https://ask.okorder.com/questions/how-to-remove-the-layer-of-protective-film-on-wooden-door_17582.html
https://youtube.com/watch?v=w6h8wvPqvfU
https://youtube.com/watch?v=w6h8wvPqvfU
https://youtube.com/watch?v=3cswE4LG-I0
https://www.finehomebuilding.com/forum/protective-film-stuck-on-door

Hi, I’m George Anderson, an expert installer with an extensive door installation and maintenance background. I’m passionate about sharing my knowledge on door equipment and accessories through my writing, helping homeowners make informed decisions. My specialty lies in custom door installations, with a commitment to enhancing the aesthetics of every home. Please feel free to reach out anytime for help with door-related questions or needs.